Time Period: 10-15, 30-minute class periods
Standards:
Standard 1: Creating, performing and participating in the arts
Standard 2: Knowing and using arts materials and resources
Standard 3: Responding to and analyzing works of art
Standard 4: Understanding the cultural dimension and contributions of the art
Materials:
Air-dry clay, Paper Mache Glue, Newspapers, Elmer’s Glue, Hot Glue Gun, Paper, Yarn, Paint, Zip-Lock Bags, Cardboard, Tape, Scissors, and other found objects.
Instructional Objective:
The students will learn about 3-dimensional sculpture and the materials that can be used to create this form of art. They will each create a sculpture of food using cardboard, air-dry clay and/or any other possible sculpture materials.
Motivation:
The students will each create a food or meal, which they will present to the class as a chef would present a dish. They will choose what meal they want to create and have the freedom to use almost all materials that are available to them.
Artists:
Claus Oldenberg, Ron Mueck
Vocabulary:
Sculpture, Found Objects, Mixed Media, Statue, Bust, Form, 3-Dimensional, Scale
Delivery of Instruction:
Step 1:
· Begin by discussing the term “sculpture”. Discuss with the students the different types of materials used to create sculpture.
· Show the students examples of sculpture, displaying old and new, discussing how the art form has grown and changed throughout the years.
· Nowadays, sculpture has taken a very modern turn, where it would seem it could be made of anything and can depict anything. Discuss some functions sculpture might have, such as statues for memorials.
· Show the student further images of modern sculpture. Focus on the sculptures that depict everyday, ordinary things, such as the artist Claus Oldenberg and Ron Mueck, and make them grand, particularly by increasing the size.
Step 2:
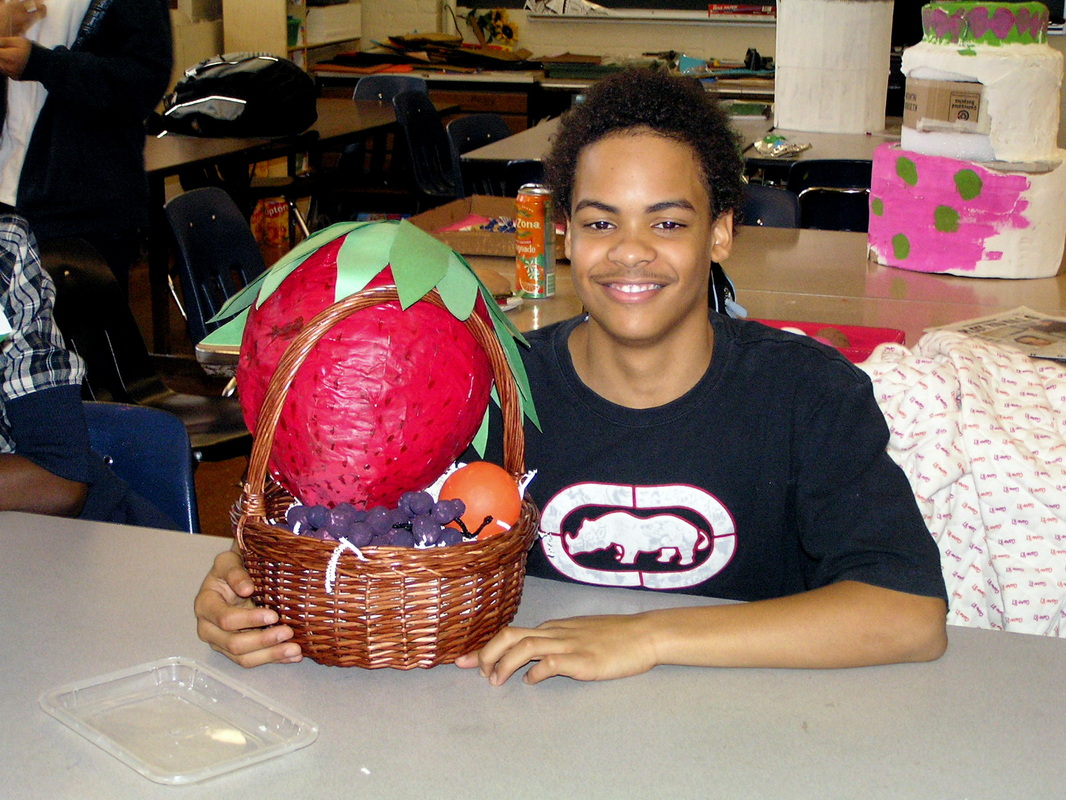
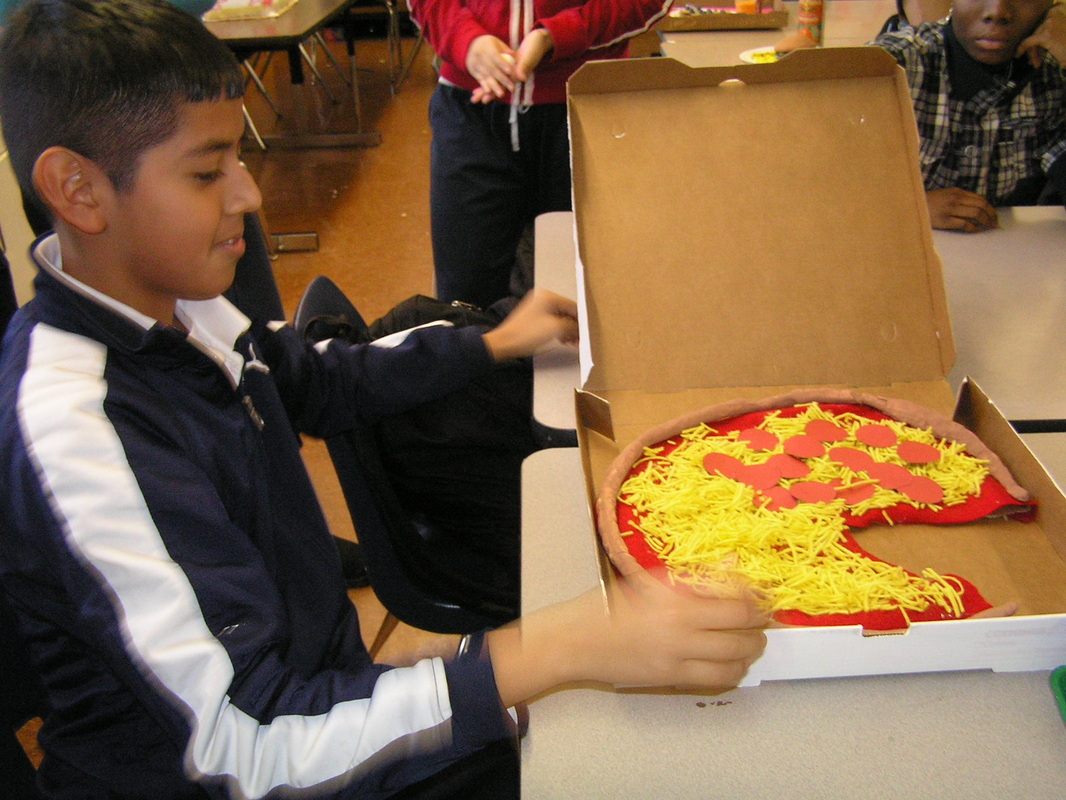
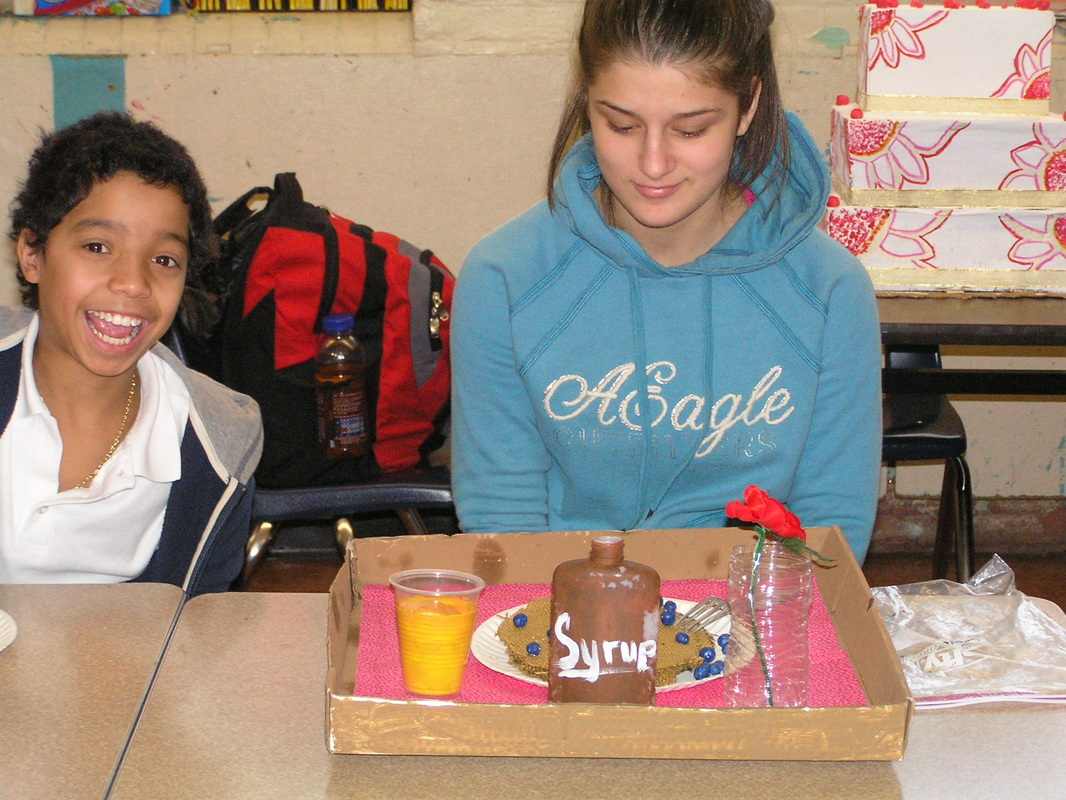
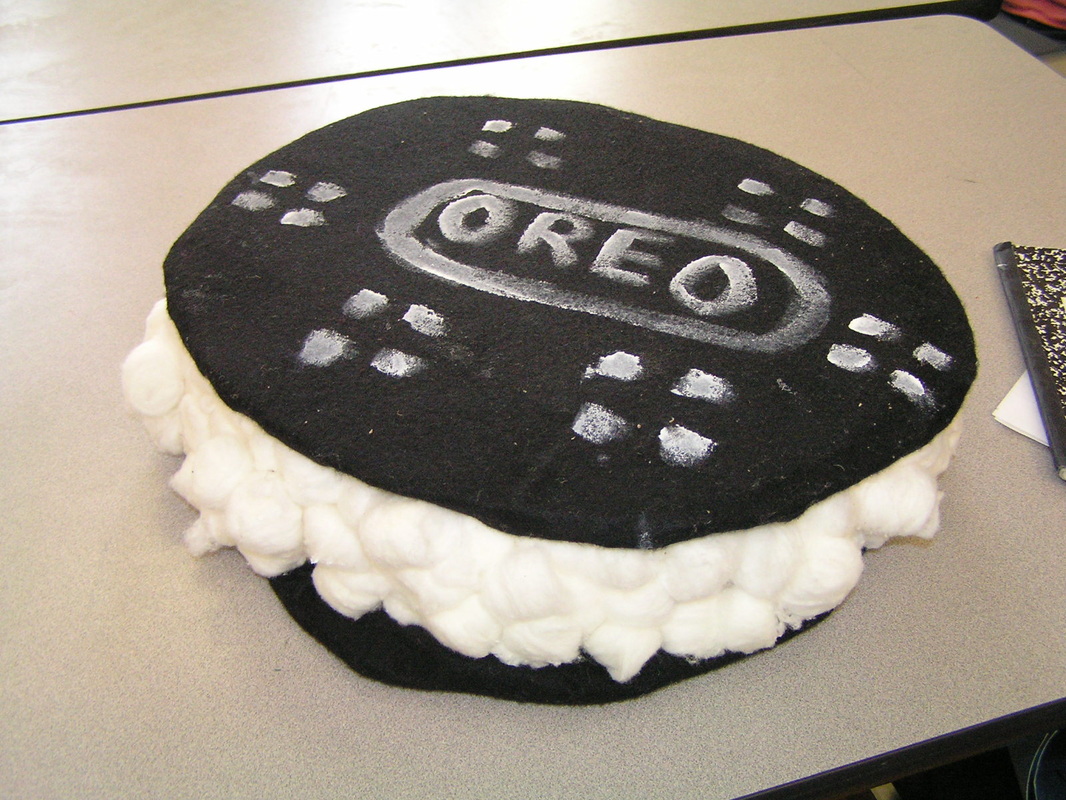
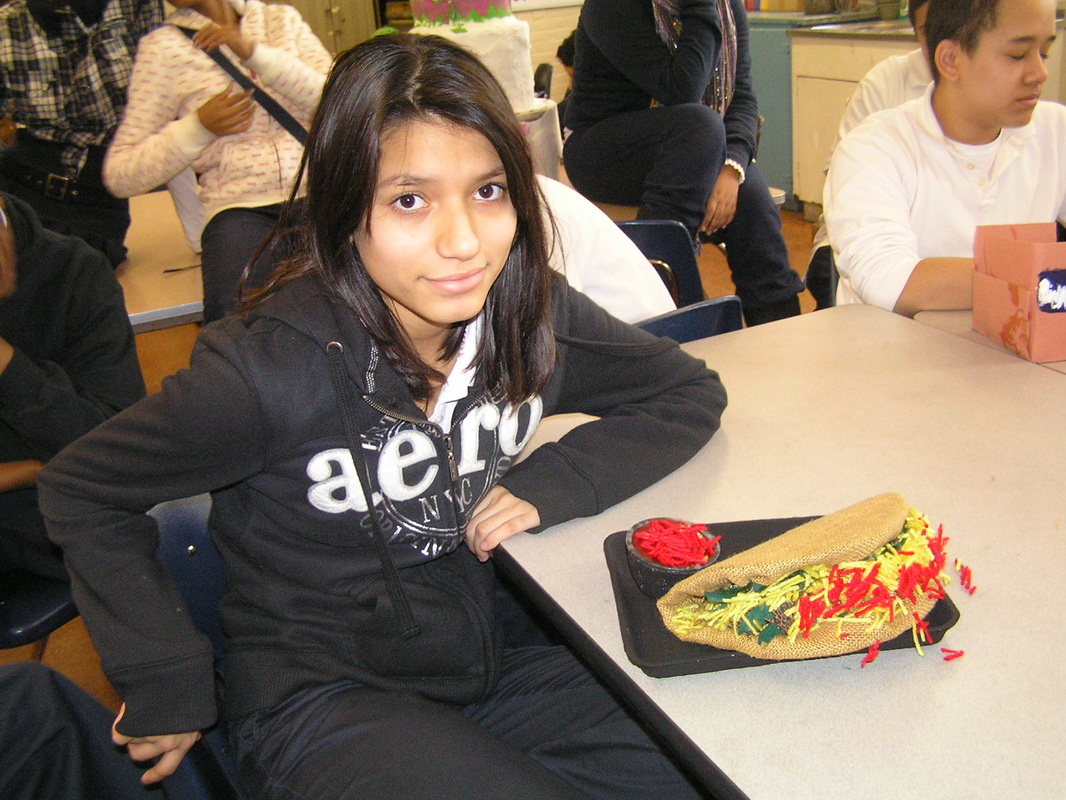
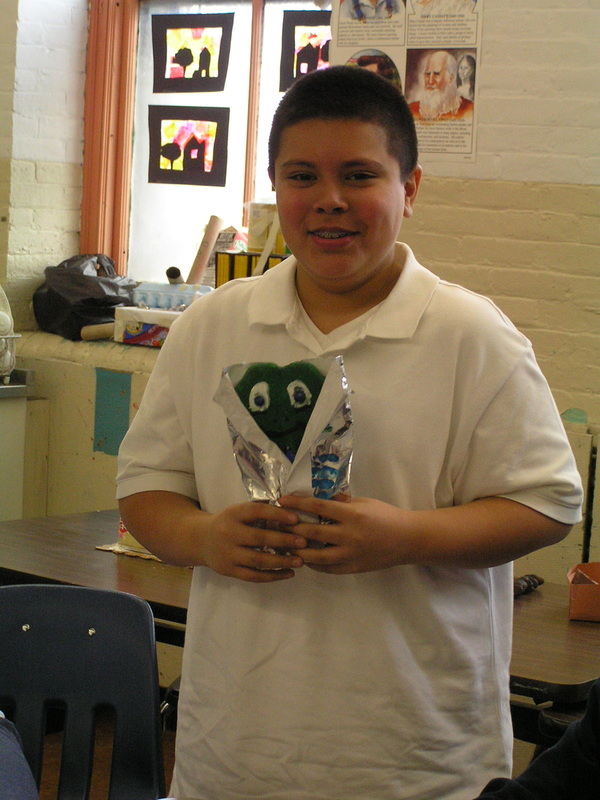
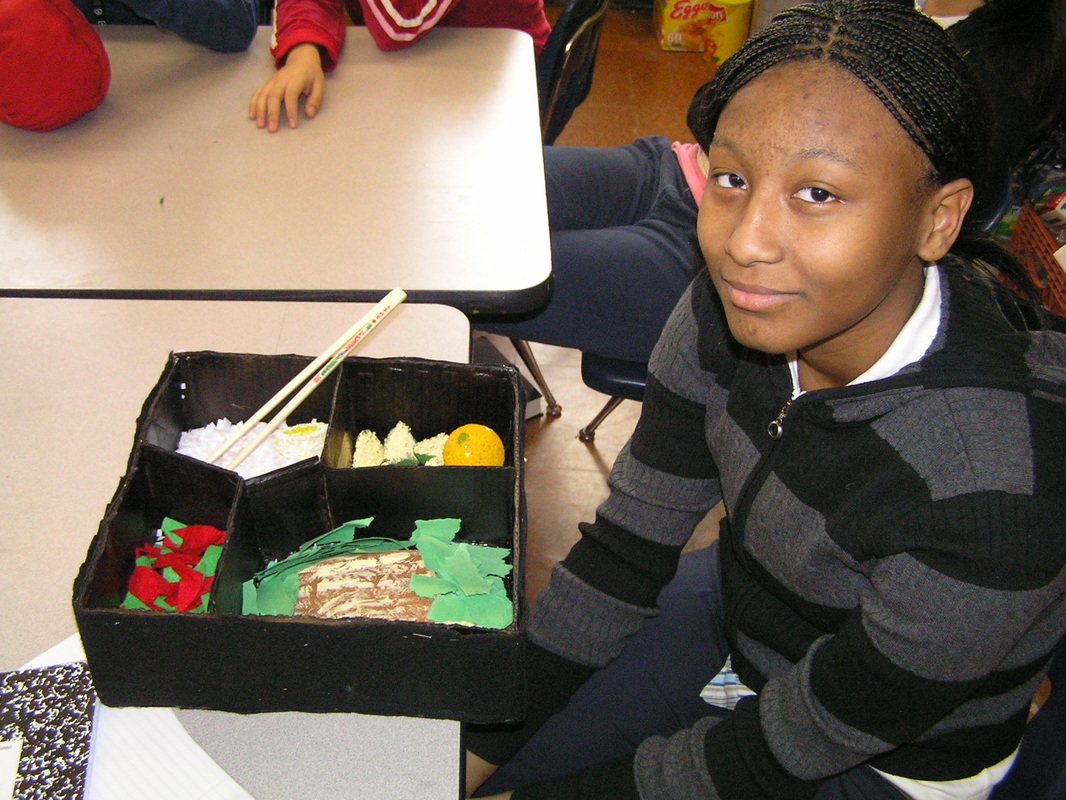
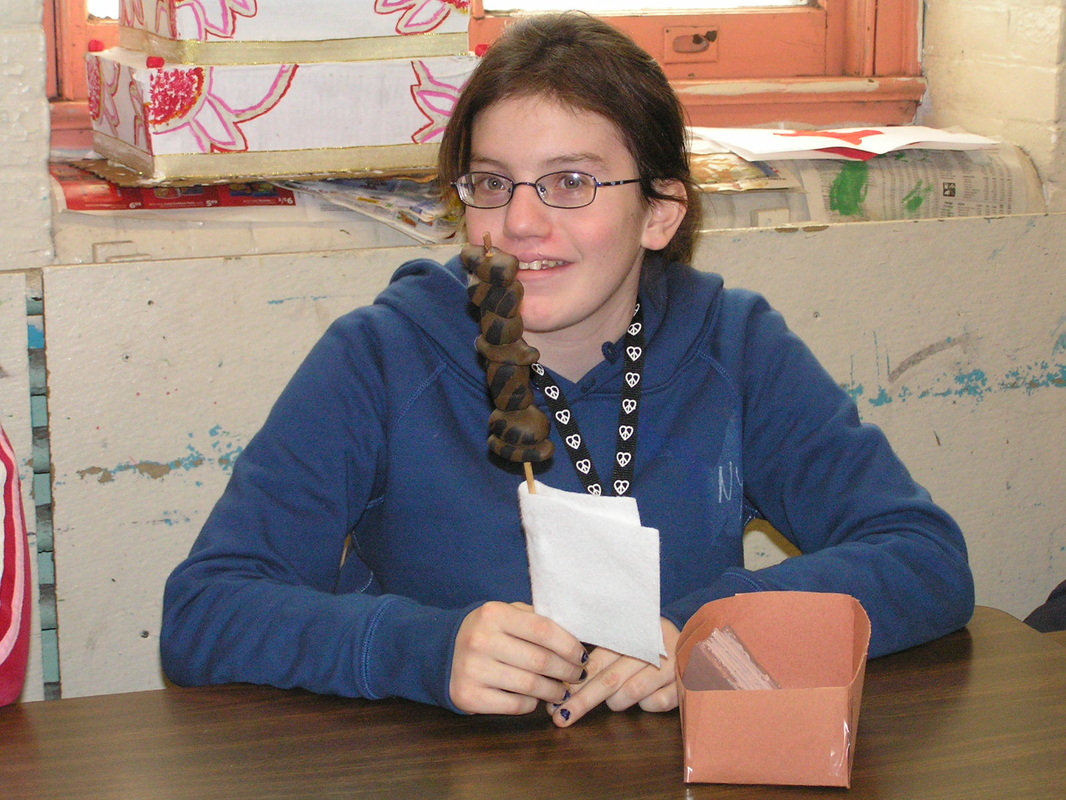
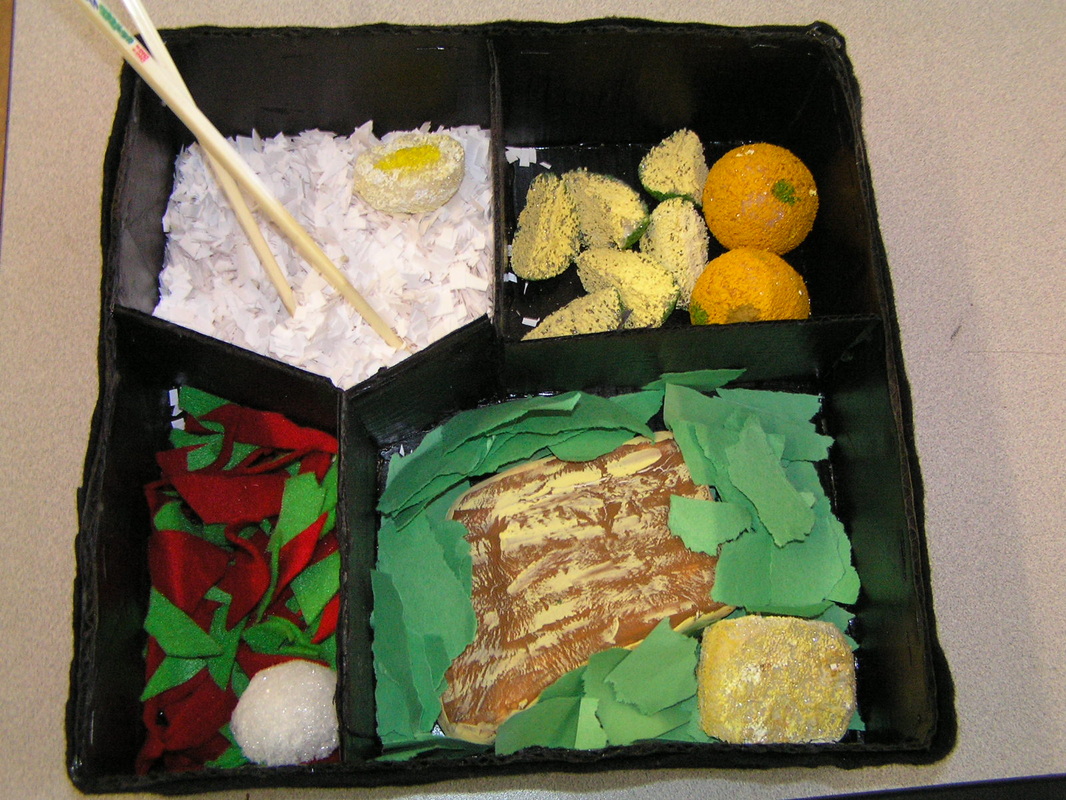
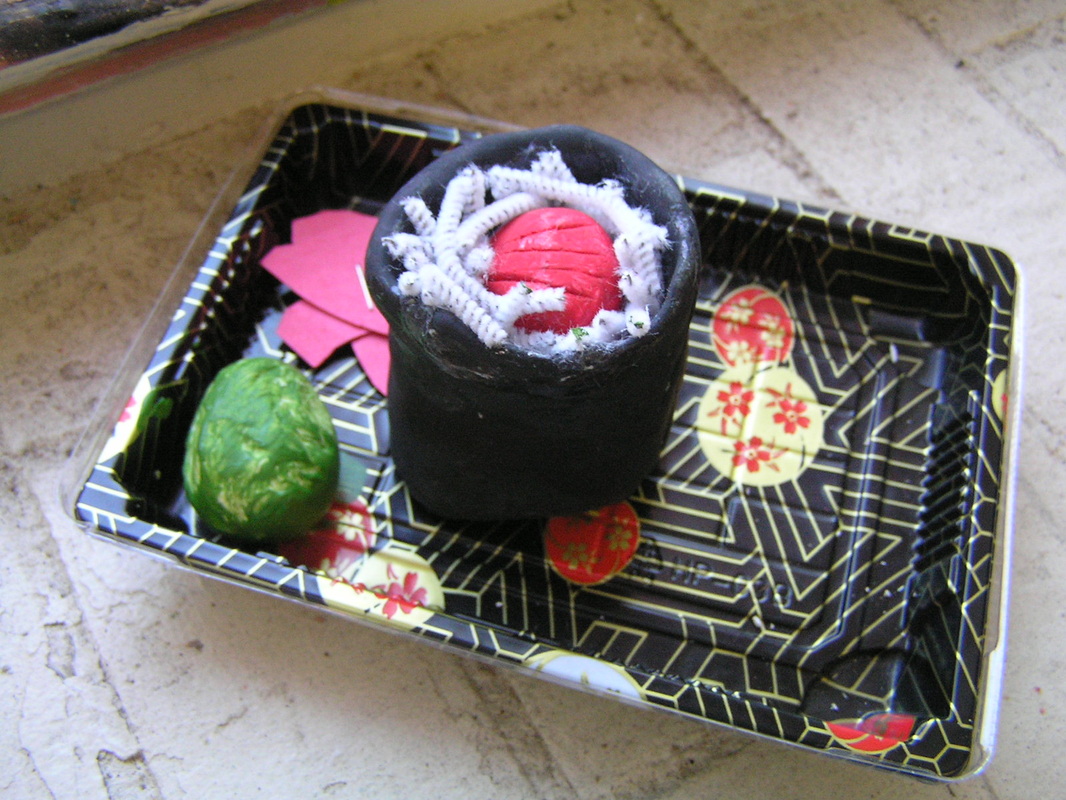
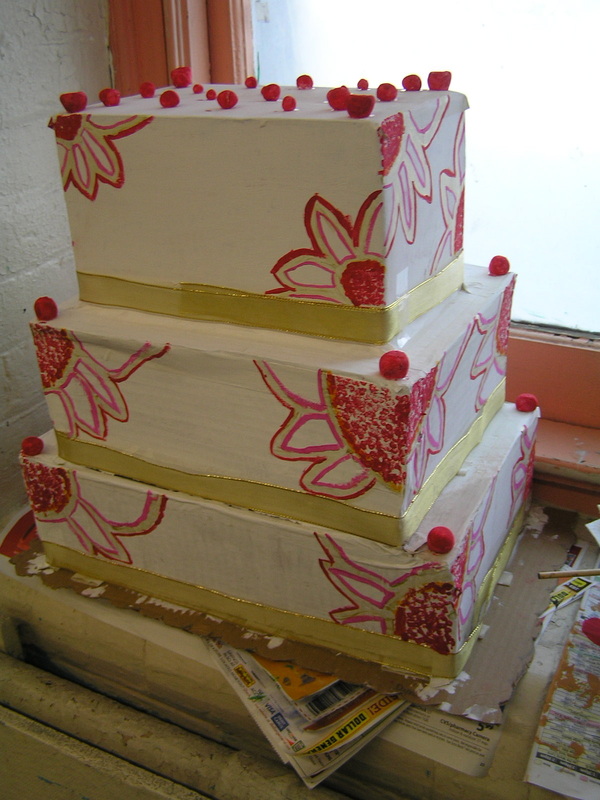
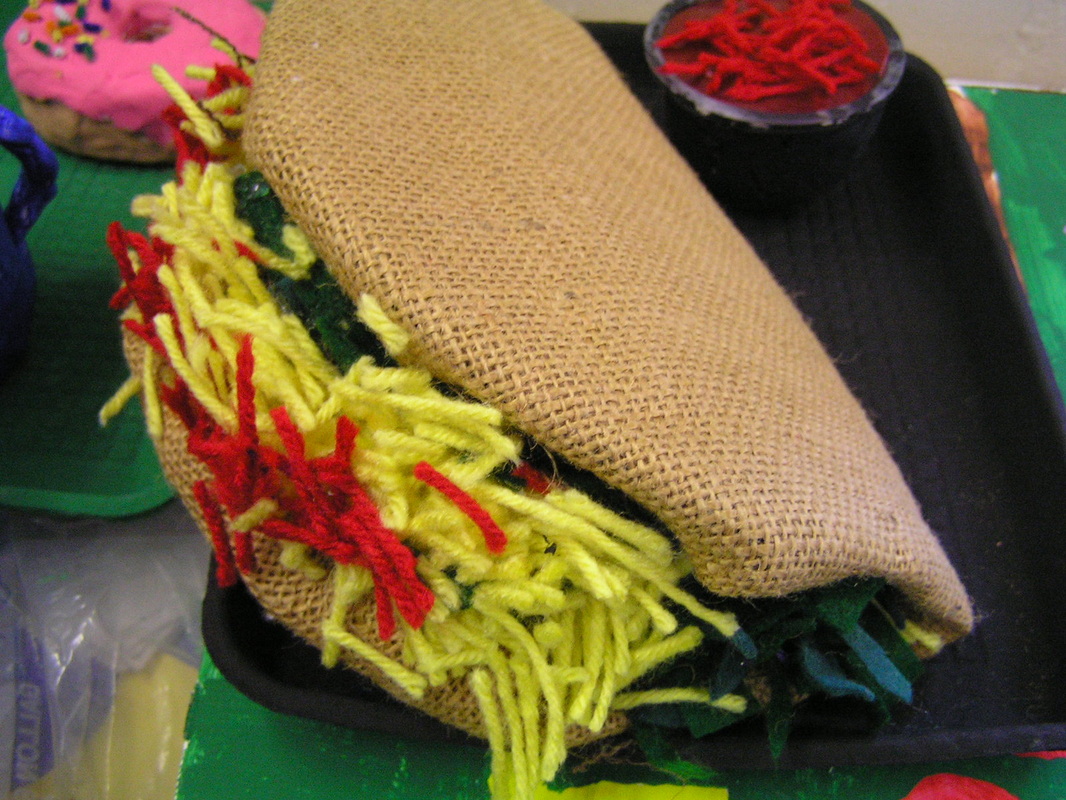
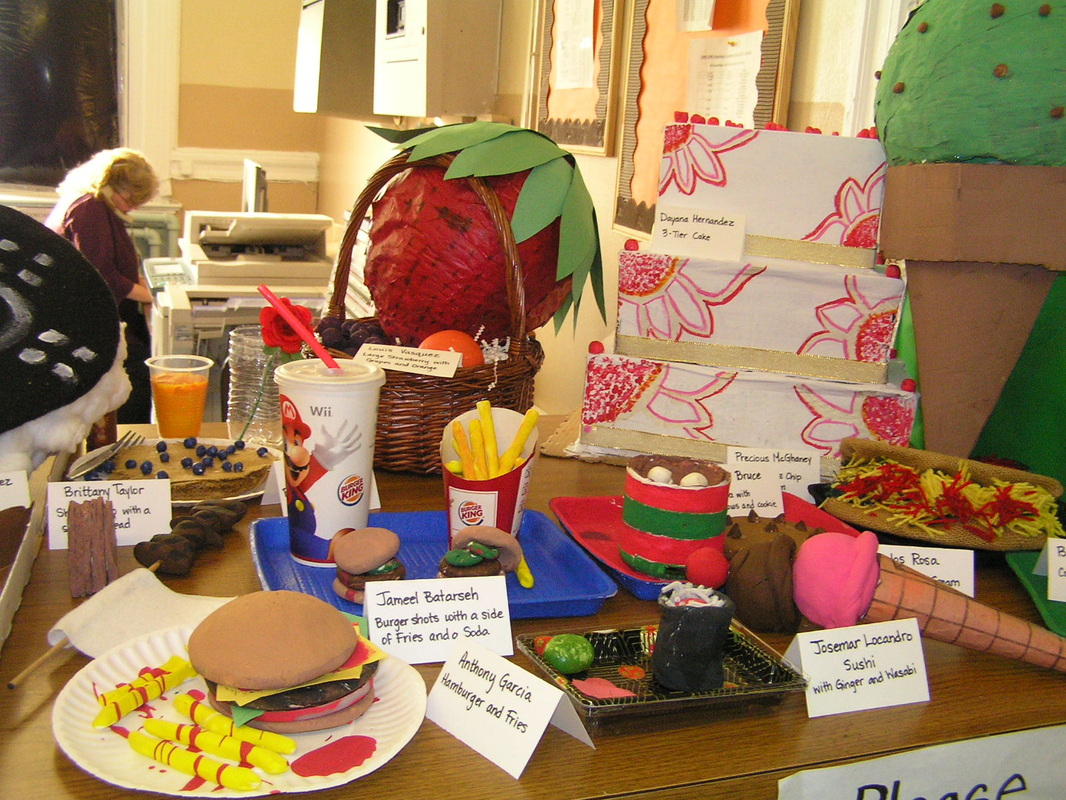
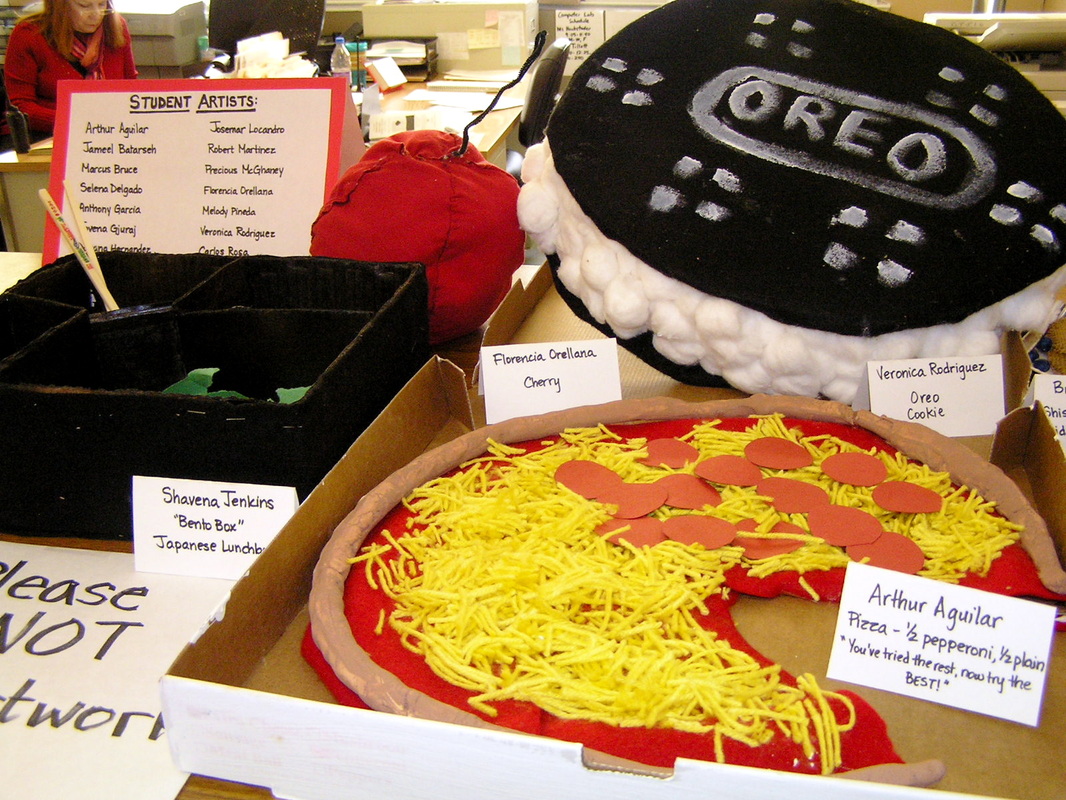
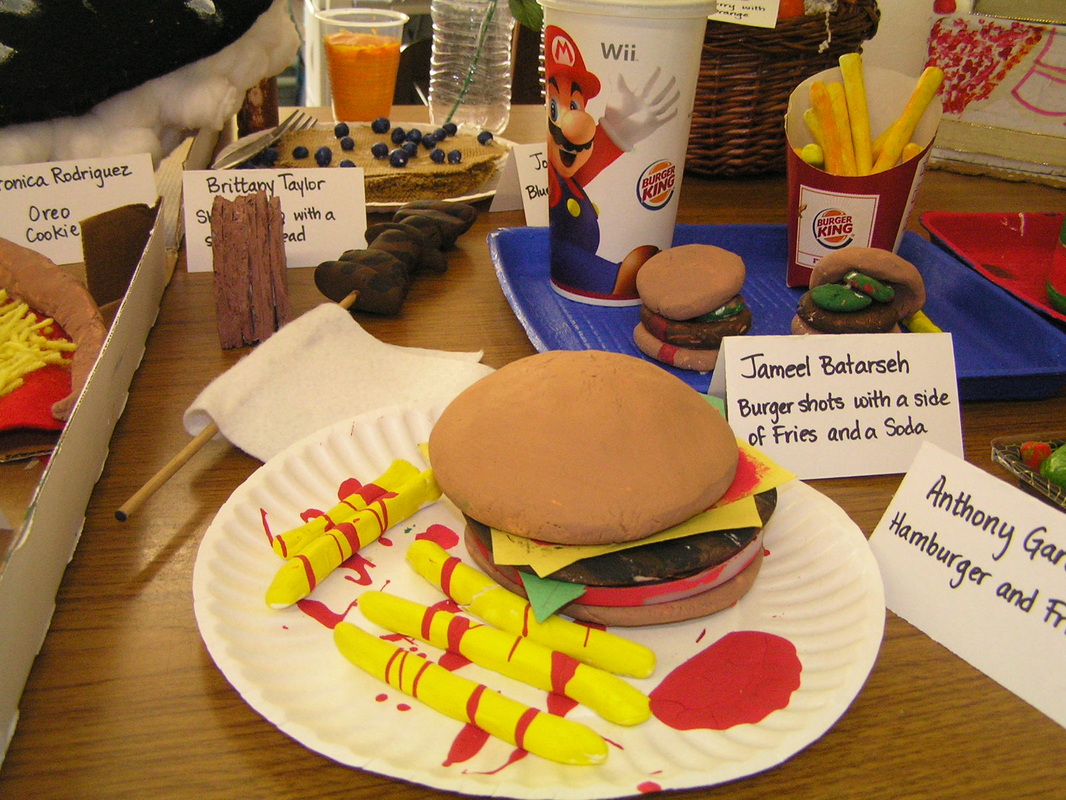
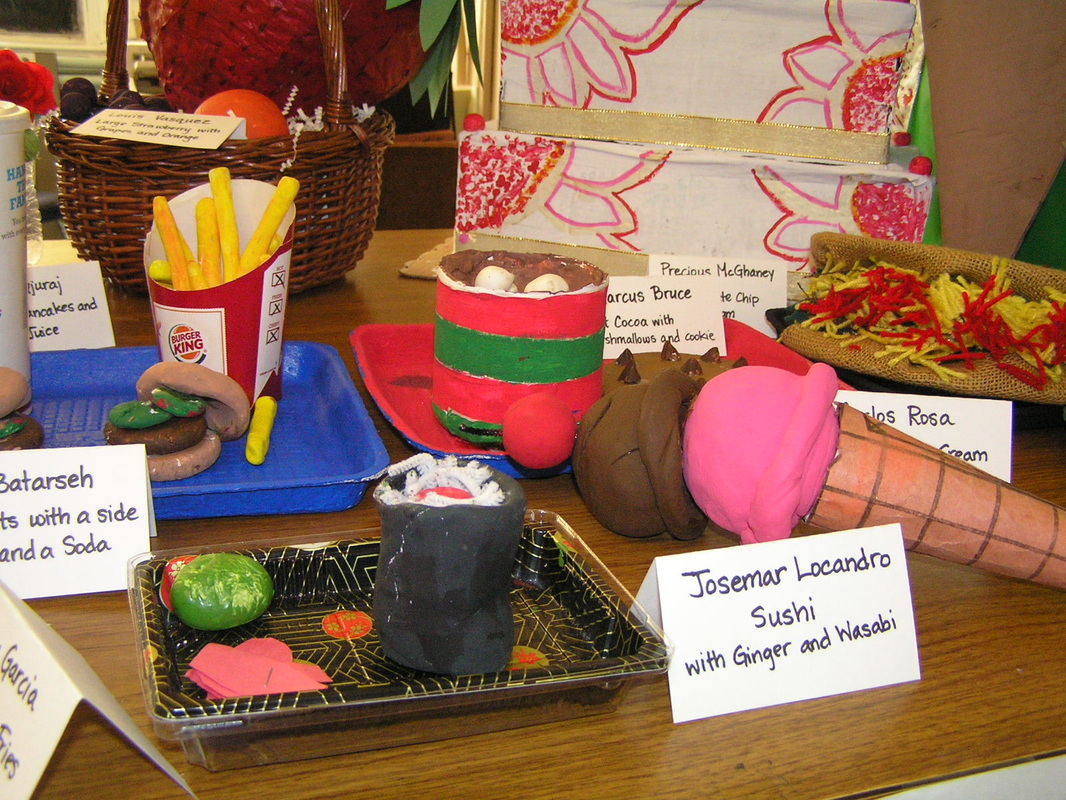
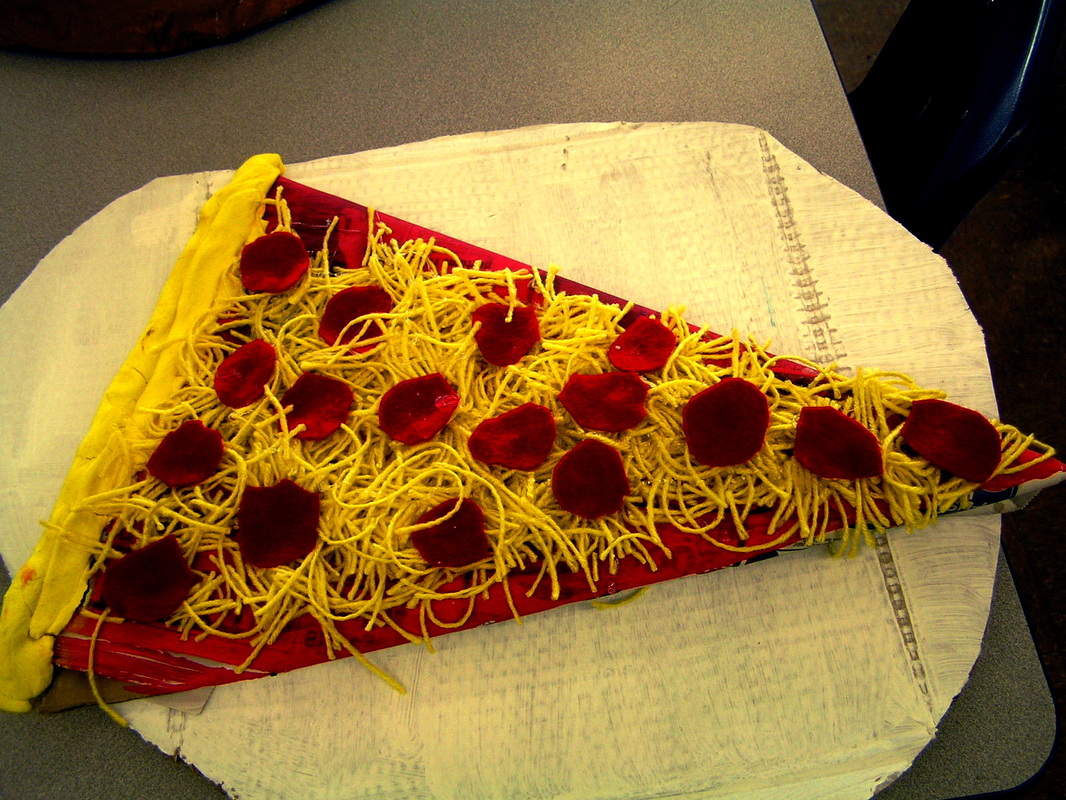
· The students will create a sculpture depicting any kind of food. They are to present the food as if it were in real life or as if a chef were presenting a meal (depending on the food item). For example: pizza in a pizza box, a peanut butter and jelly sandwich in a lunch box with a juice box, fries in a basket with ketchup, or steak and a potato on a plate.
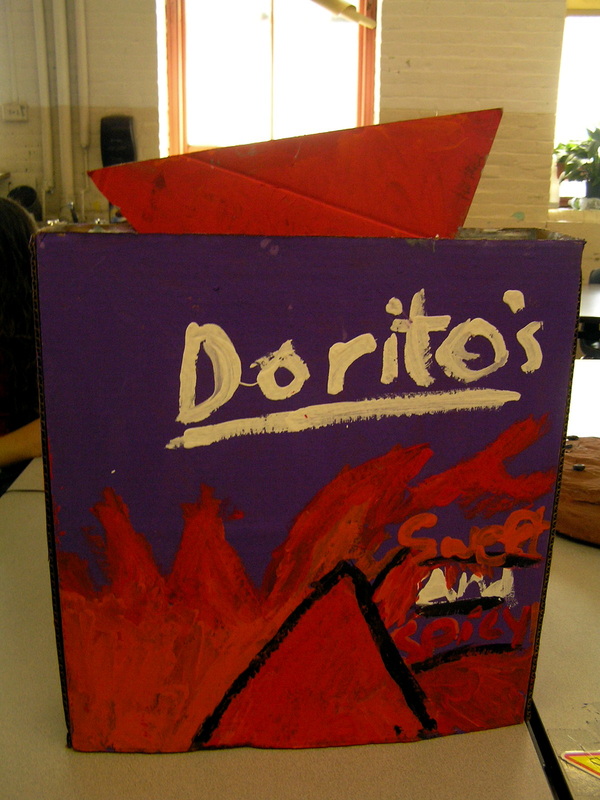
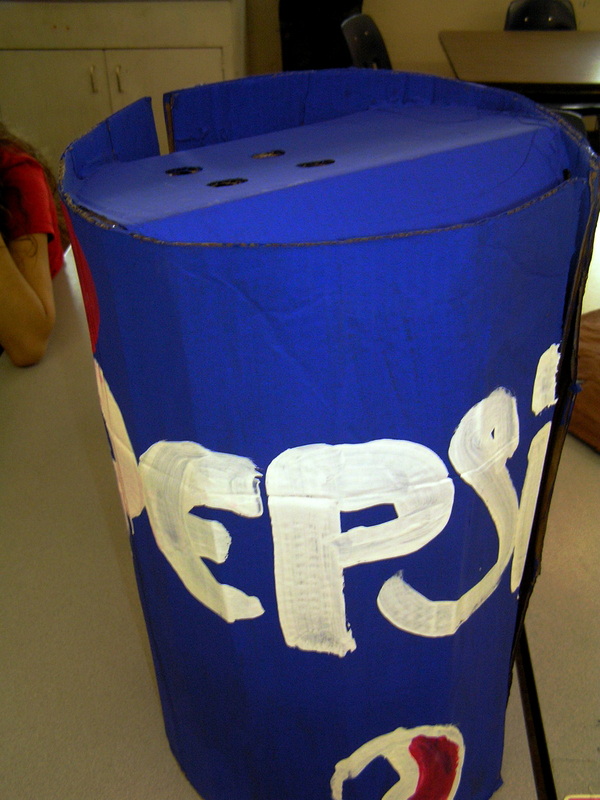
· The students will be challenged to use any materials to create their food. Some materials will be provided for them, that of which is normally in the art classroom; otherwise the students must find their own materials to work with.
· Demonstrate a few different techniques of how to create sculpture. Primarily focus on demonstrating how to use air-dry clay, Paper Mache and folding paper techniques.
Step 3:
· Allow the students time to brainstorm and sketch out their ideas. While sketching, the students should be coming up with ways they could create the sculpture, thinking of what materials they might need to create their idea, and how it might be presented in the end. That will help them determine what is possible for them to make.
· Once they have a solid plan of action and know what they want to create, they may begin. Each student will have a sip-lock bag and if needed a box to store their work in progress.
Closure:
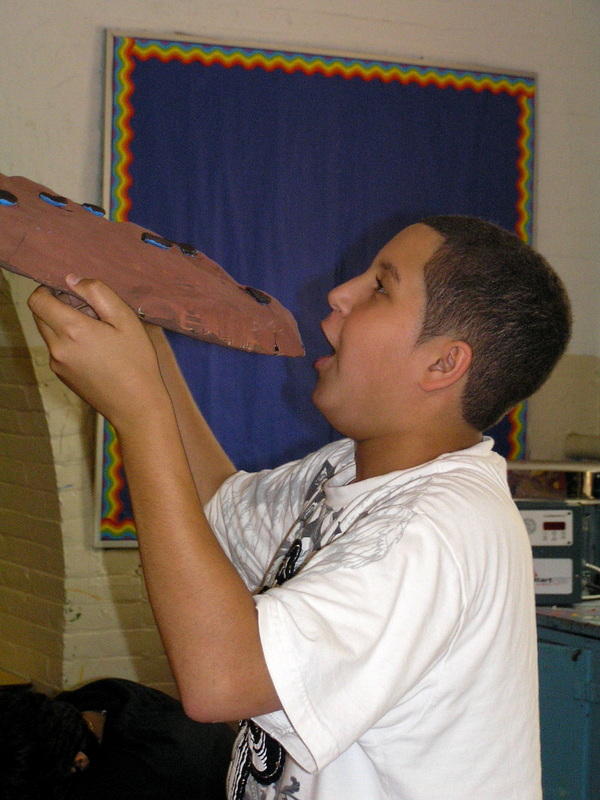
Have each student present their food sculpture as if they were presenting the real food. Hold a critique and discuss each students work, focusing on these three questions:
1. What was your process from the idea and sketch to the final product?
2. What was the easiest part of making this project? What was the most difficult?
3. If you could change anything about your project or the process, what would it be?
When finished, display the food sculptures as they were presented.
Extended Practice:
If there is time, have the students, at home make a creative dish to eat in class, either during or after the critique. It could be a cupcake with a face on it, or a gummy worm in pudding to look like mud.
Sketchbook Assignment:
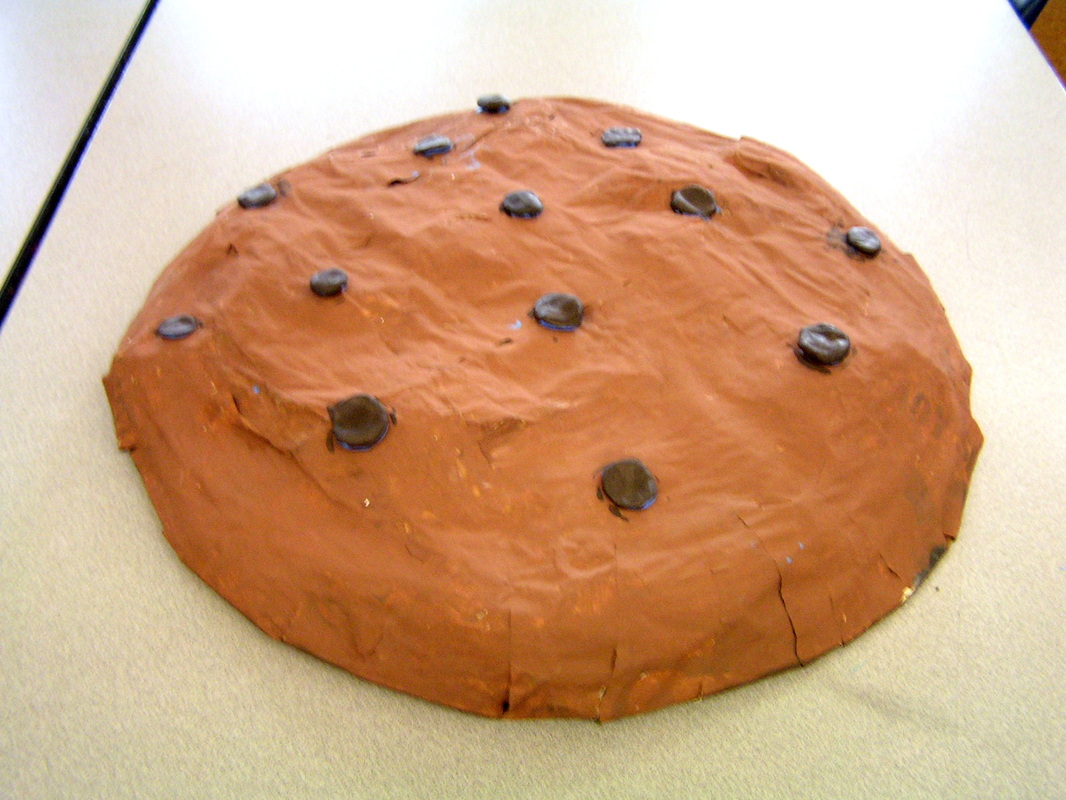
Draw a picture of your favorite meal or snack. Use the entire page and include everything in the scene (for example, if its cookies, draw the box or wrapper it came in too, and the glass of milk you might drink with it). You may color the image or leave it black and white.
Wall Text:
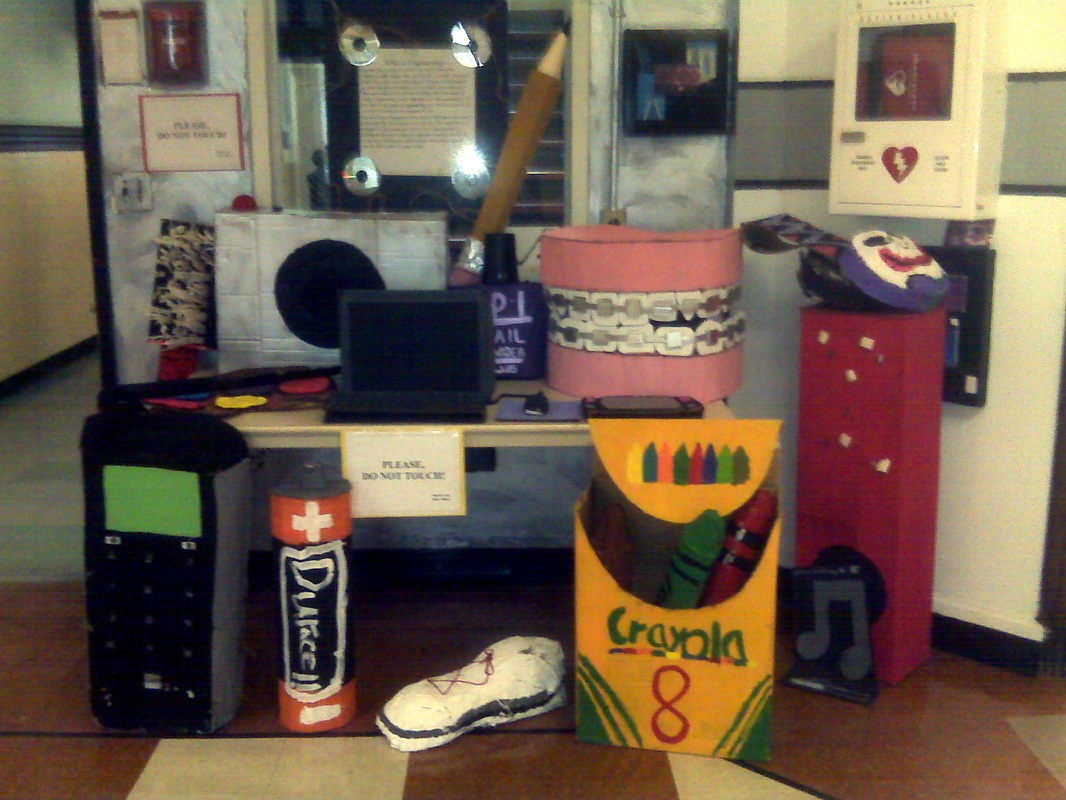
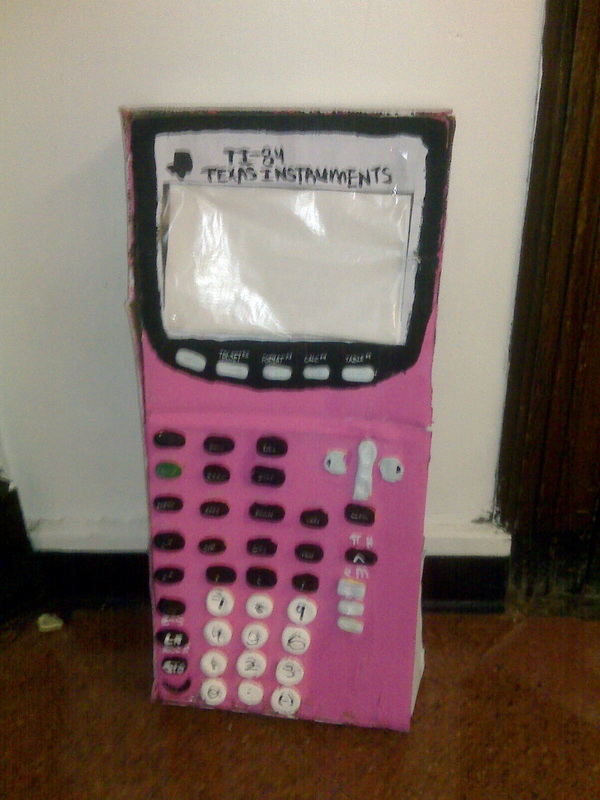
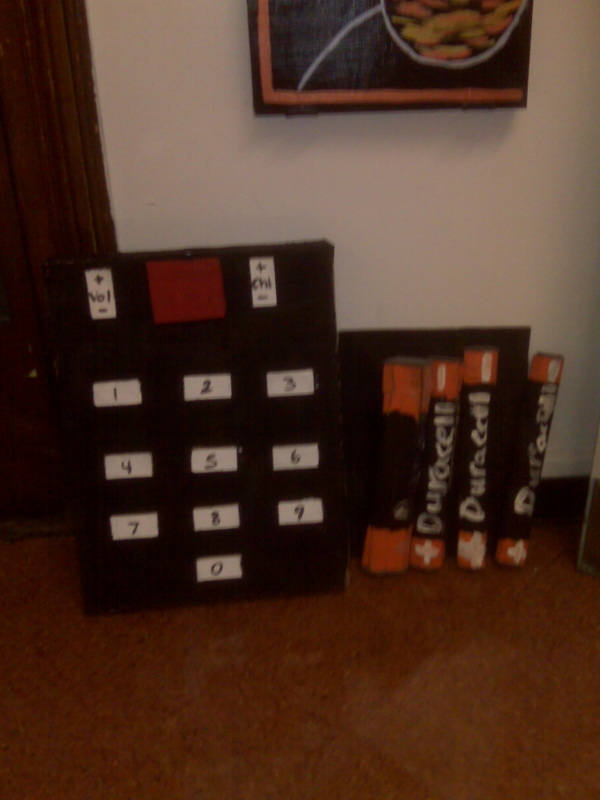
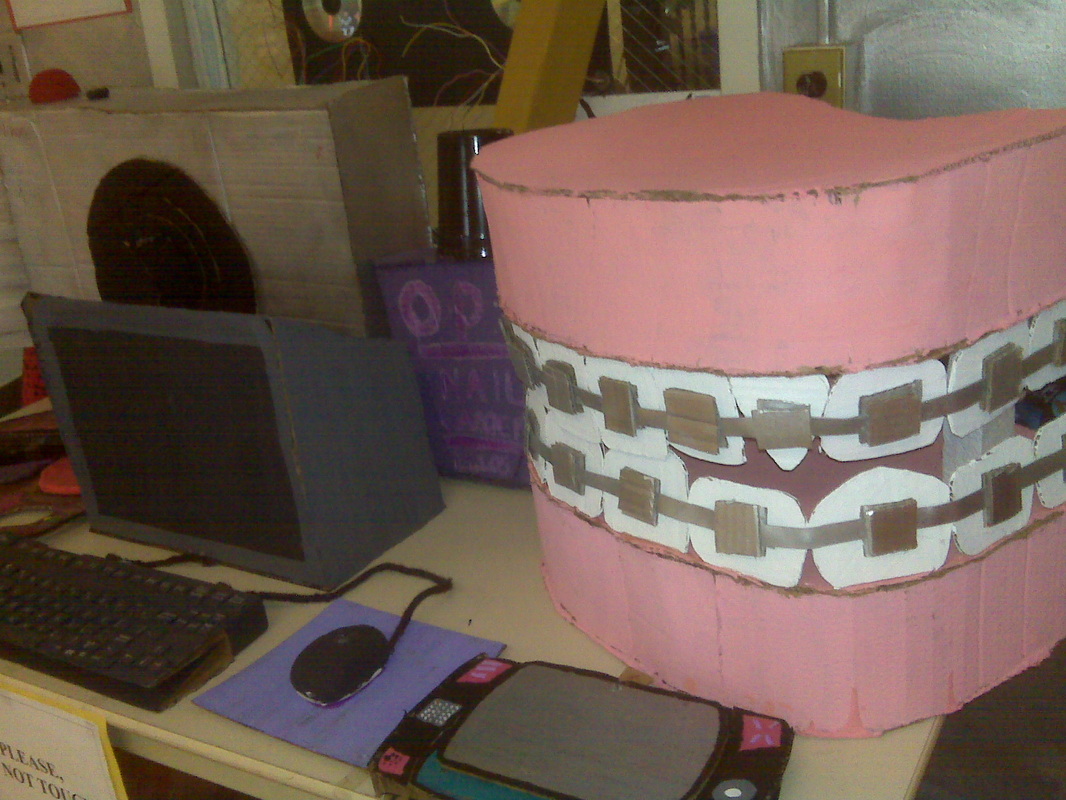
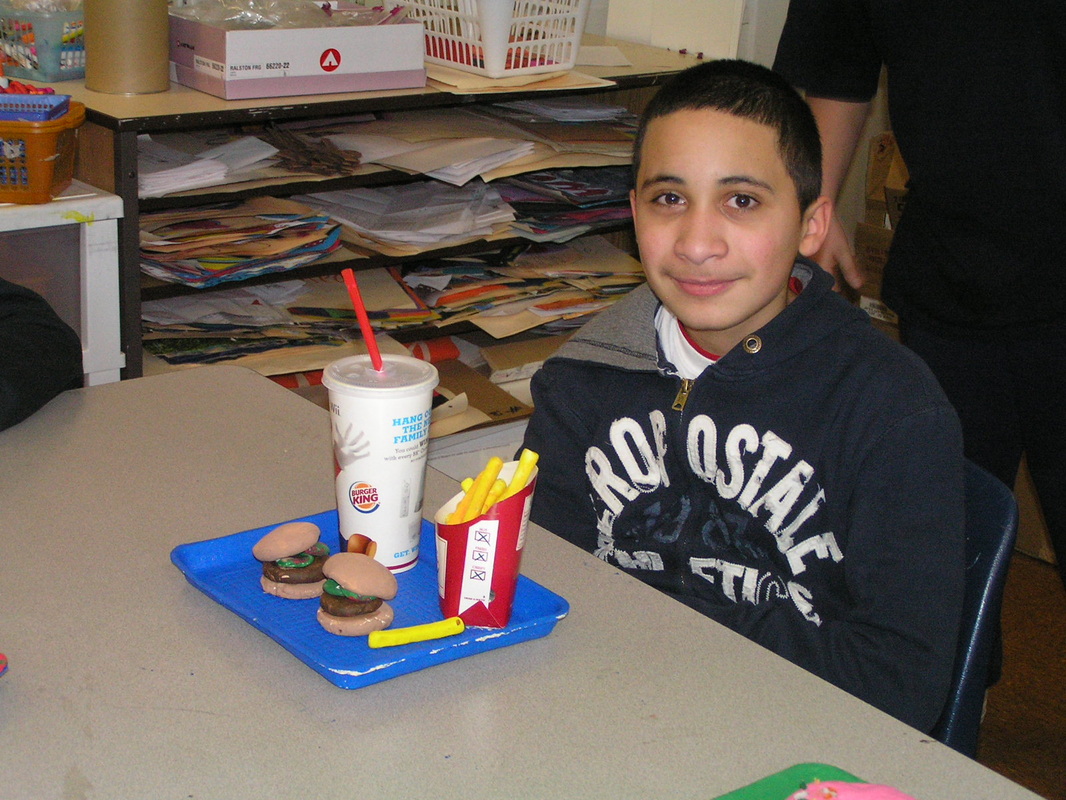
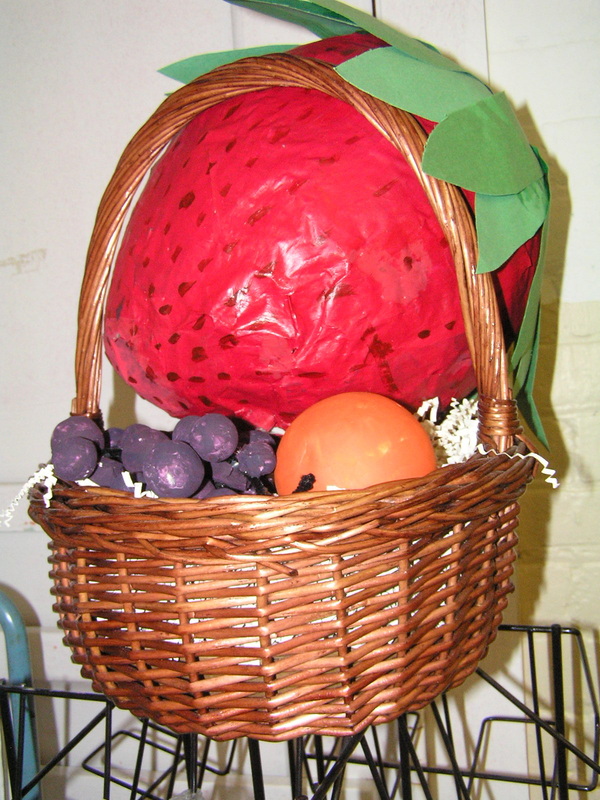
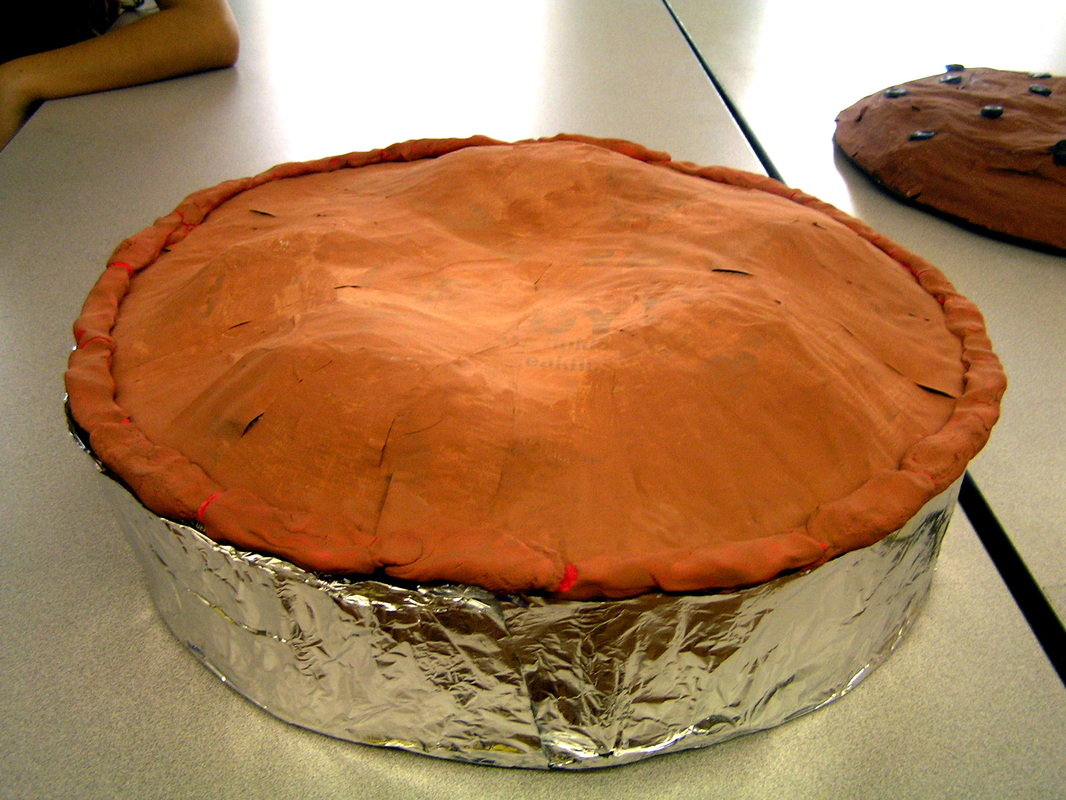
Sculpture is an art form that can be made using many different materials. It is defined as a three-dimensional work of art. The 8th graders studied different types of sculpture, focusing on the artwork of Claus Oldenberg. Oldenberg was best known for his enormous sculptures of ordinary things, including food. The students were challenged to create their own sculpture of a food using whatever materials they felt would best complete their idea. These materials could include anything from Air-Dry Clay, Paper Mache, to an actual Burger King cup stuffed with brown felt. The incredible sculptures you see before you are the 8th graders masterful creations.
Standards:
Standard 1: Creating, performing and participating in the arts
Standard 2: Knowing and using arts materials and resources
Standard 3: Responding to and analyzing works of art
Standard 4: Understanding the cultural dimension and contributions of the art
Materials:
Air-dry clay, Paper Mache Glue, Newspapers, Elmer’s Glue, Hot Glue Gun, Paper, Yarn, Paint, Zip-Lock Bags, Cardboard, Tape, Scissors, and other found objects.
Instructional Objective:
The students will learn about 3-dimensional sculpture and the materials that can be used to create this form of art. They will each create a sculpture of food using cardboard, air-dry clay and/or any other possible sculpture materials.
Motivation:
The students will each create a food or meal, which they will present to the class as a chef would present a dish. They will choose what meal they want to create and have the freedom to use almost all materials that are available to them.
Artists:
Claus Oldenberg, Ron Mueck
Vocabulary:
Sculpture, Found Objects, Mixed Media, Statue, Bust, Form, 3-Dimensional, Scale
Delivery of Instruction:
Step 1:
· Begin by discussing the term “sculpture”. Discuss with the students the different types of materials used to create sculpture.
· Show the students examples of sculpture, displaying old and new, discussing how the art form has grown and changed throughout the years.
· Nowadays, sculpture has taken a very modern turn, where it would seem it could be made of anything and can depict anything. Discuss some functions sculpture might have, such as statues for memorials.
· Show the student further images of modern sculpture. Focus on the sculptures that depict everyday, ordinary things, such as the artist Claus Oldenberg and Ron Mueck, and make them grand, particularly by increasing the size.
Step 2:
· The students will create a sculpture depicting any kind of food. They are to present the food as if it were in real life or as if a chef were presenting a meal (depending on the food item). For example: pizza in a pizza box, a peanut butter and jelly sandwich in a lunch box with a juice box, fries in a basket with ketchup, or steak and a potato on a plate.
· The students will be challenged to use any materials to create their food. Some materials will be provided for them, that of which is normally in the art classroom; otherwise the students must find their own materials to work with.
· Demonstrate a few different techniques of how to create sculpture. Primarily focus on demonstrating how to use air-dry clay, Paper Mache and folding paper techniques.
Step 3:
· Allow the students time to brainstorm and sketch out their ideas. While sketching, the students should be coming up with ways they could create the sculpture, thinking of what materials they might need to create their idea, and how it might be presented in the end. That will help them determine what is possible for them to make.
· Once they have a solid plan of action and know what they want to create, they may begin. Each student will have a sip-lock bag and if needed a box to store their work in progress.
Closure:
Have each student present their food sculpture as if they were presenting the real food. Hold a critique and discuss each students work, focusing on these three questions:
1. What was your process from the idea and sketch to the final product?
2. What was the easiest part of making this project? What was the most difficult?
3. If you could change anything about your project or the process, what would it be?
When finished, display the food sculptures as they were presented.
Extended Practice:
If there is time, have the students, at home make a creative dish to eat in class, either during or after the critique. It could be a cupcake with a face on it, or a gummy worm in pudding to look like mud.
Sketchbook Assignment:
Draw a picture of your favorite meal or snack. Use the entire page and include everything in the scene (for example, if its cookies, draw the box or wrapper it came in too, and the glass of milk you might drink with it). You may color the image or leave it black and white.
Wall Text:
Sculpture is an art form that can be made using many different materials. It is defined as a three-dimensional work of art. The 8th graders studied different types of sculpture, focusing on the artwork of Claus Oldenberg. Oldenberg was best known for his enormous sculptures of ordinary things, including food. The students were challenged to create their own sculpture of a food using whatever materials they felt would best complete their idea. These materials could include anything from Air-Dry Clay, Paper Mache, to an actual Burger King cup stuffed with brown felt. The incredible sculptures you see before you are the 8th graders masterful creations.