Unit: Viewpoint
Curriculum Standards:
Standard 1: Creating, performing and participating in the arts
Standard 2: Knowing and using arts materials and resources
Standard 3: Responding to and analyzing works of art
Standard 4: Understanding the cultural dimension and contributions of the art
Materials:
35mm Digital Camera, Mac Computer, Photoshop (or GIMP), Ruler, 3H Pencil, Photo Paper, Printer, Long piece of paper
Instructional Objective:
The students will create two images that are opposites, demonstrating that they have looked for a new viewpoint. The students will know the importance of searching for a different viewpoint in order to get the best image, while keeping in mind the rule of thirds.
Motivation:
Show the students examples of photographs showing the effects of how a different viewpoint can change an image.
Artists:
Vocabulary:
Viewpoint, Viewfinder, Focus, Birds Eye View, Child’s Perspective, Perspective
Delivery of Instruction:
Day 1 – 2:
· Introduce the term “Viewpoint” and discuss with the students what it means in terms of photography and making a good photograph.
· Ask the students, “When you take a photograph, how often do you just find your subject and quickly take the snapshot?” “If you could have a camera attached to any part of your body, what would it be?” My answer is my hand so that I could move the camera anywhere, bringing up the matter of taking the time to find the best viewpoint for the image.
· Show the students different images showing a Birds Eye View, a Child’s Perspective and straight on.
· Demonstrate how the students should move around (go low, stand on a chair, look down, put the camera at an angle, etc.)
· Introduce the assignment. Have the students take photographs of two different subjects, specifically two things that can be considered opposites. Each subject should be photographed from at least 5 different viewpoints.
Day 3 – 6:
· Allow the students time in the computer lab to upload their images onto their computers and student accounts.
· After photographs are uploaded, students must print out their contact sheet showing at least 2 subjects being photographed 5 different times from 5 different points of view.
· In the photo-editing program available, students must edit and “clean up” the two images that they will be using for the project. The two images can either be the two opposite subjects or two different viewpoints of the same subject.
· At the end of the computer lab editing period, the students must upload their two images into their folder in Dropbox, labeling them “Viewpoint”. Print images on photo paper in color.
Day 7 – 11:
· Take the students to the open art studio or a space where they can freely spread out their work.
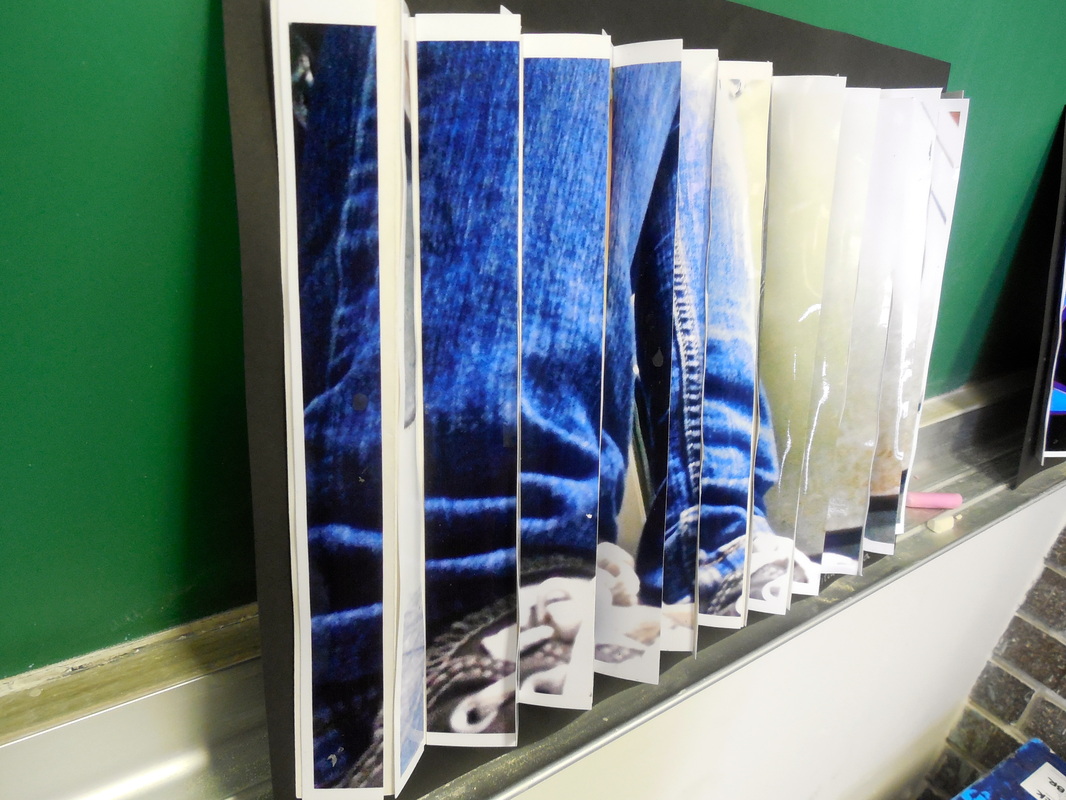
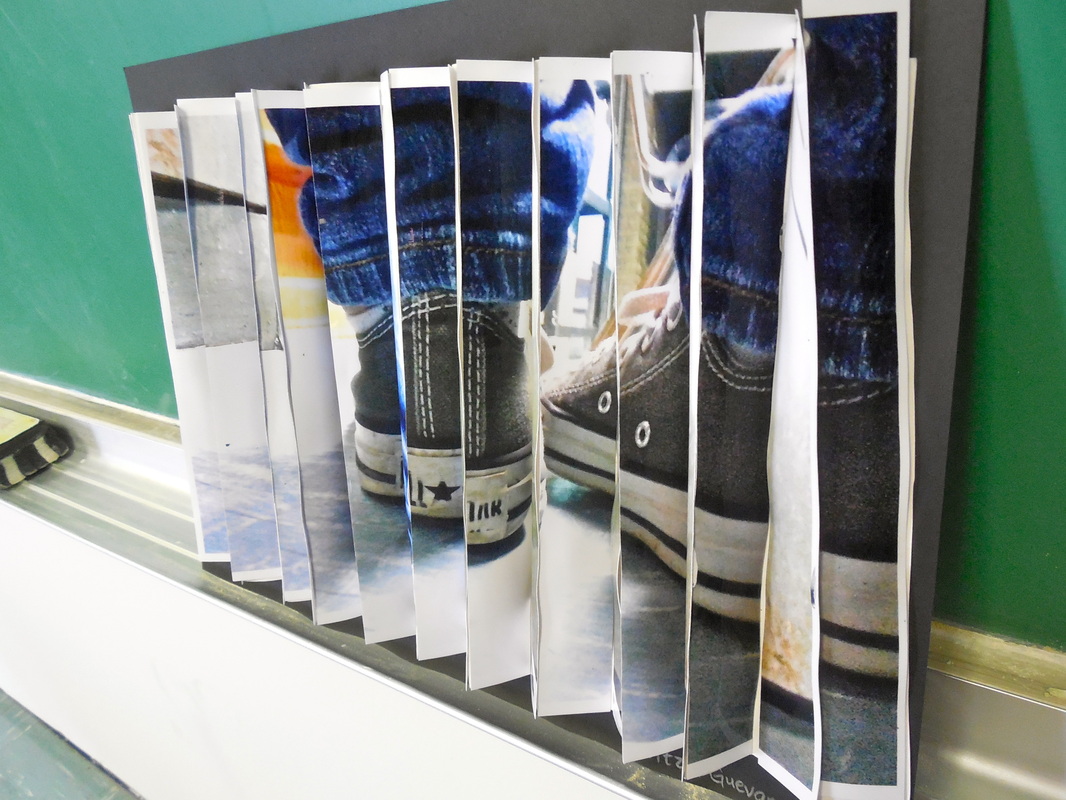
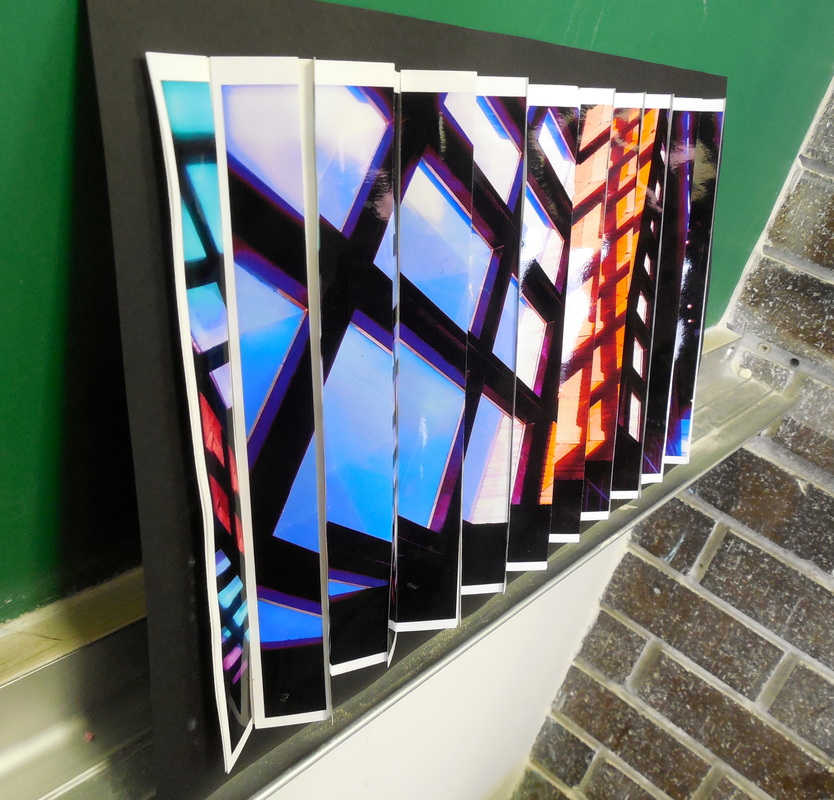
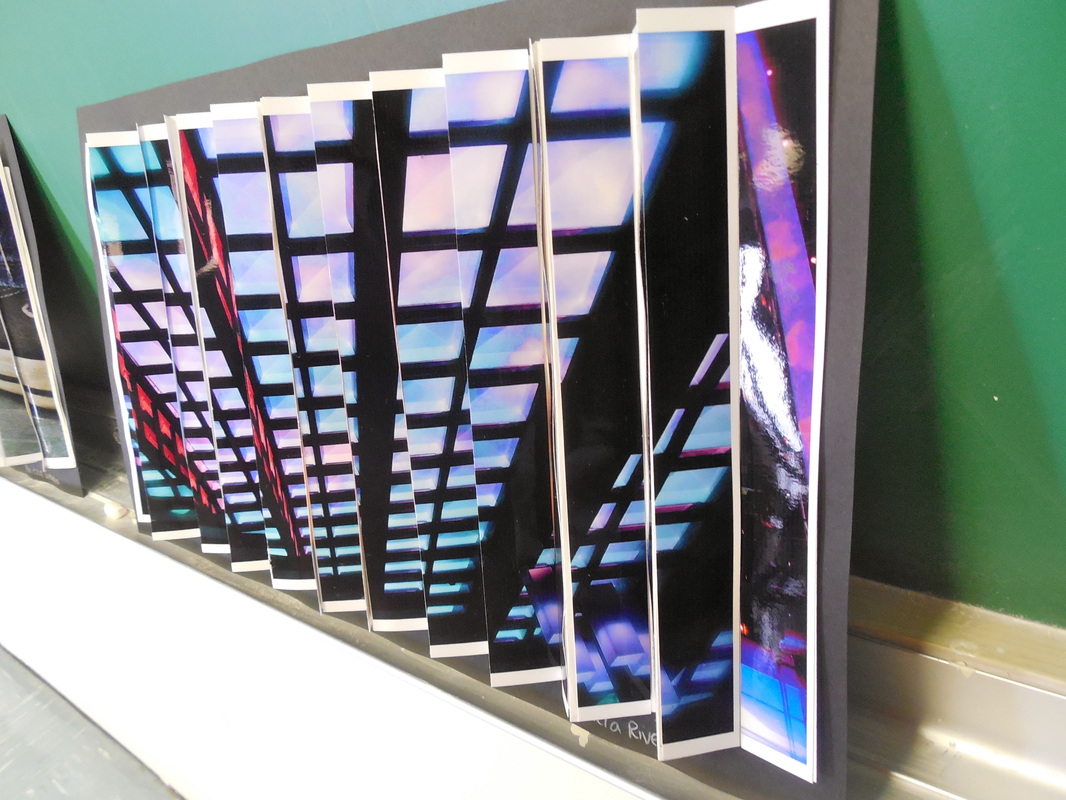
· Demonstrate how the students will create a fan like paper by making three rows of marks at every inch and drawing with a sharp pointed pencil lines connecting the dots. This will score the paper allowing for it to fold on the drawn line creating an even fan or accordion.
· After the students have seen their printed photos, have them cut images into one-inch strips to match the size of their paper (or pre-cut photos or them on the cutting board).
· Demonstrate how to properly use rubber cement glue to glue their photos.
· Glue photo strips onto the fan-like paper, alternating between photos to finish.
Closure:
Display each student’s completed Flip Image, allow students to walk on either side of the images and then critique them. Questions to focus on:
1. What do you think of the outcome?
2. Is there anything you would change about your project now that you have seen the outcome?
3. How would you compare the outcome of doing the viewpoint project this way as opposed to just having printed the opposite photos taken and mounting that?
Extended Practice:
Photo Journal Homework Assignments: to be handed in every Monday by 4pm.
Continue to keep “viewpoint,” along with the rule of thirds in the student’s minds when they are taking their photos by continuing to build on these lessons.
Wall Text:
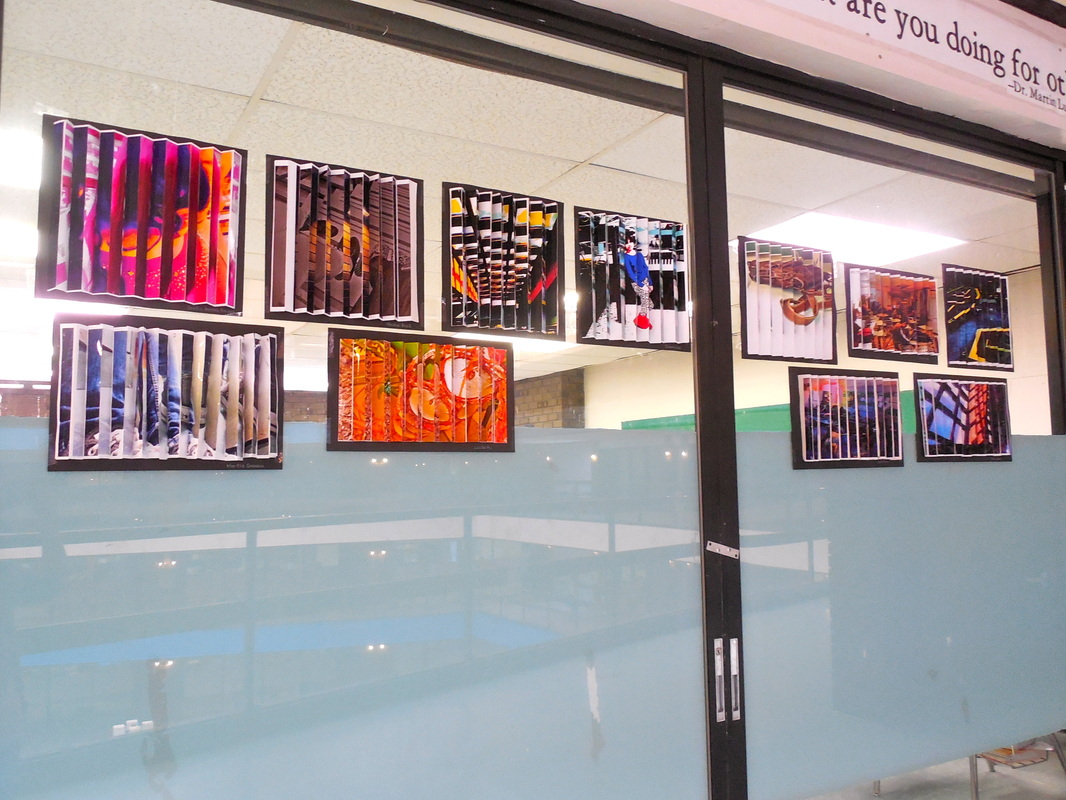
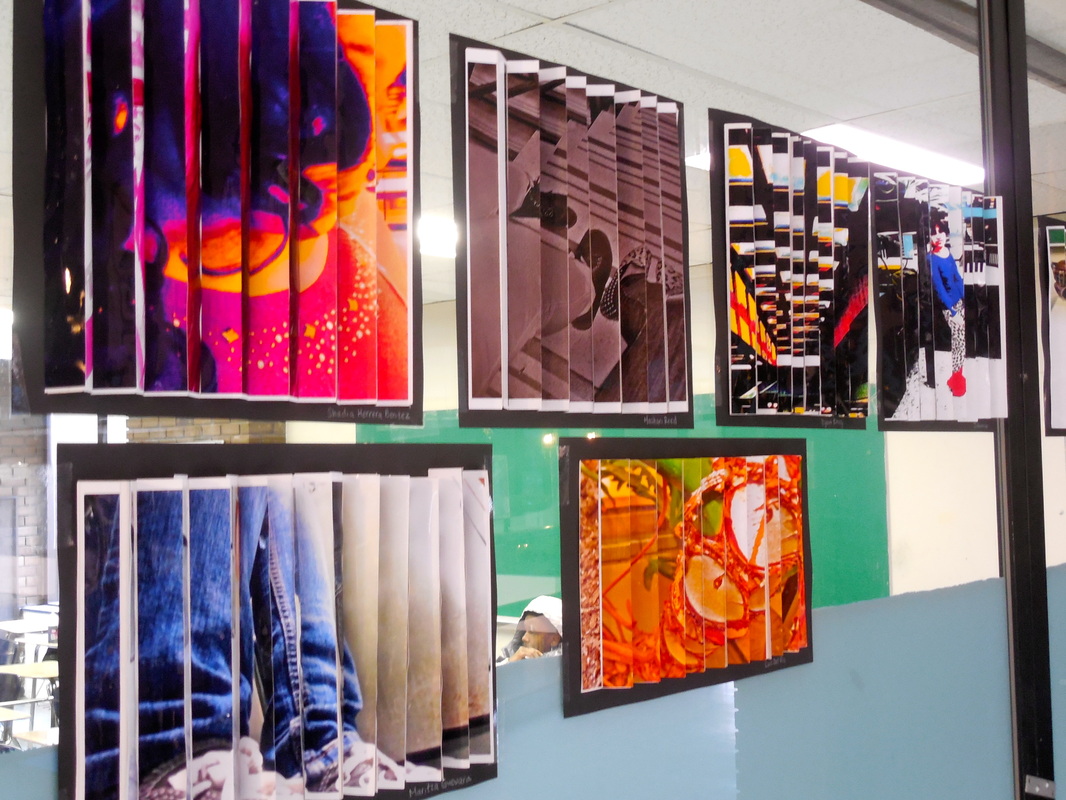
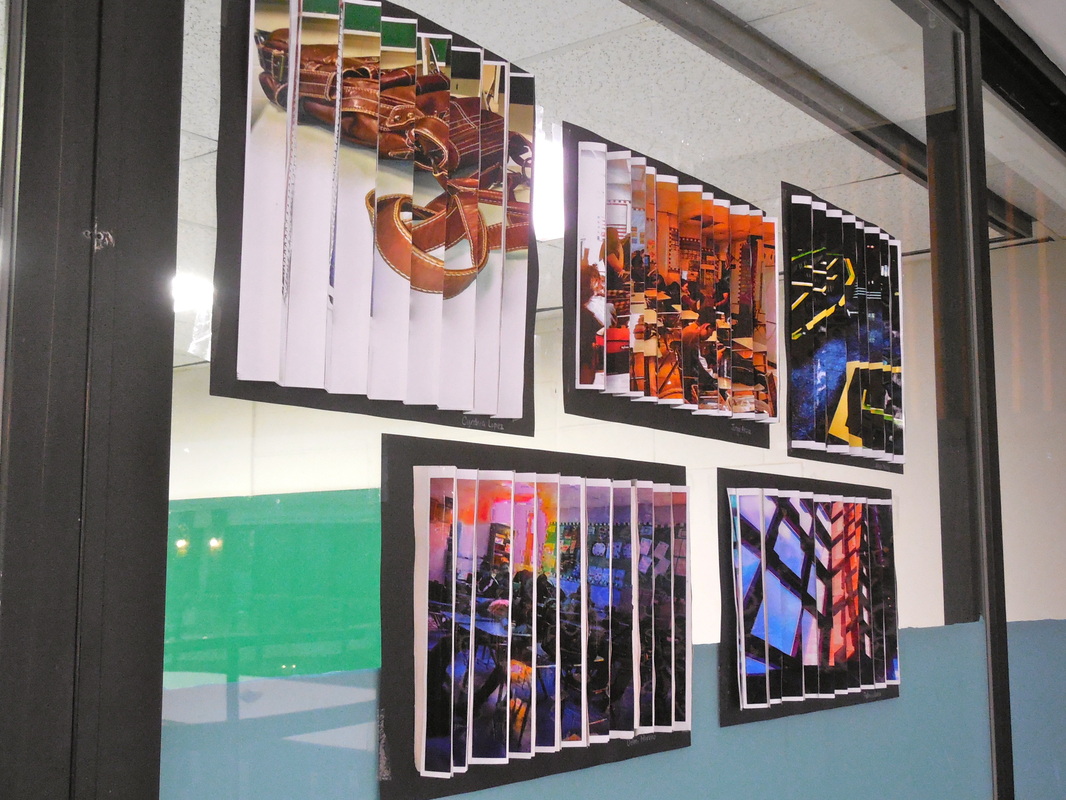
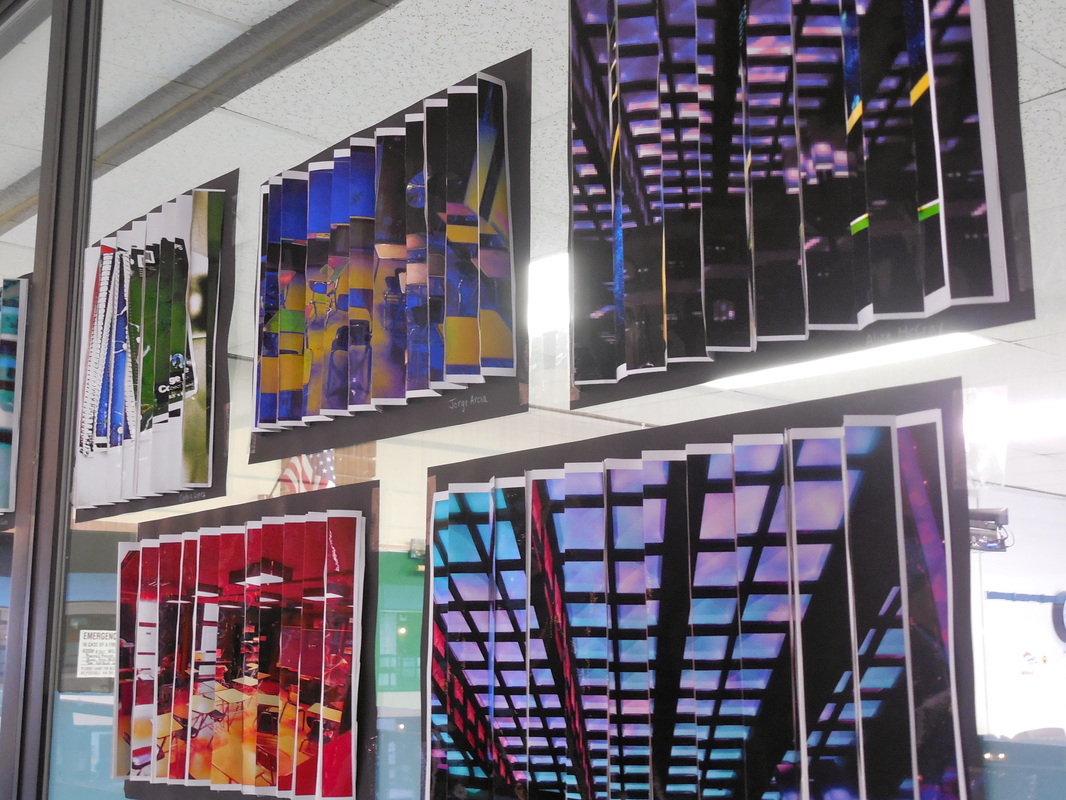
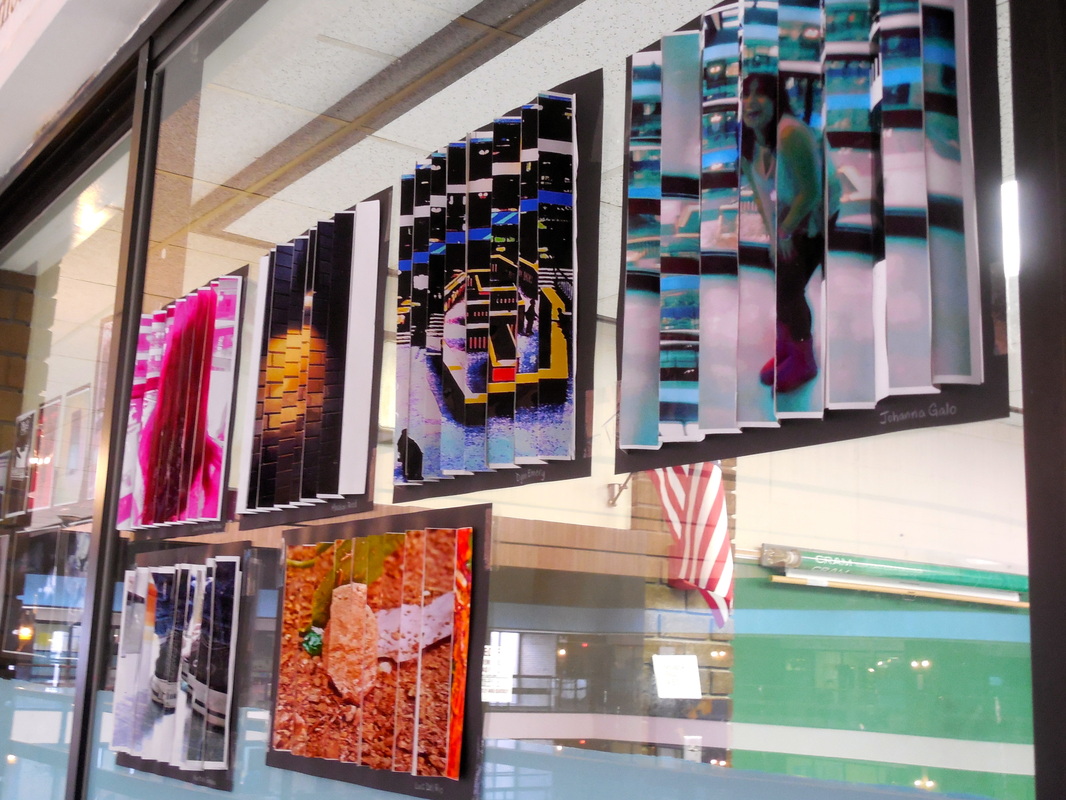
Now you see it, now you see something else! The digital photography students discovered the benefits of searching beyond the easy snapshot to find new perspective and more intriguing points of view. They were challenged to photograph two opposites from many different viewpoints, which they then sliced up to create this unique double flip image, showing you two images for the price of one.
Resources:
· http://digital-photography-school.com/10-ways-to-take-stunning-portraits
Curriculum Standards:
Standard 1: Creating, performing and participating in the arts
Standard 2: Knowing and using arts materials and resources
Standard 3: Responding to and analyzing works of art
Standard 4: Understanding the cultural dimension and contributions of the art
Materials:
35mm Digital Camera, Mac Computer, Photoshop (or GIMP), Ruler, 3H Pencil, Photo Paper, Printer, Long piece of paper
Instructional Objective:
The students will create two images that are opposites, demonstrating that they have looked for a new viewpoint. The students will know the importance of searching for a different viewpoint in order to get the best image, while keeping in mind the rule of thirds.
Motivation:
Show the students examples of photographs showing the effects of how a different viewpoint can change an image.
Artists:
Vocabulary:
Viewpoint, Viewfinder, Focus, Birds Eye View, Child’s Perspective, Perspective
Delivery of Instruction:
Day 1 – 2:
· Introduce the term “Viewpoint” and discuss with the students what it means in terms of photography and making a good photograph.
· Ask the students, “When you take a photograph, how often do you just find your subject and quickly take the snapshot?” “If you could have a camera attached to any part of your body, what would it be?” My answer is my hand so that I could move the camera anywhere, bringing up the matter of taking the time to find the best viewpoint for the image.
· Show the students different images showing a Birds Eye View, a Child’s Perspective and straight on.
· Demonstrate how the students should move around (go low, stand on a chair, look down, put the camera at an angle, etc.)
· Introduce the assignment. Have the students take photographs of two different subjects, specifically two things that can be considered opposites. Each subject should be photographed from at least 5 different viewpoints.
Day 3 – 6:
· Allow the students time in the computer lab to upload their images onto their computers and student accounts.
· After photographs are uploaded, students must print out their contact sheet showing at least 2 subjects being photographed 5 different times from 5 different points of view.
· In the photo-editing program available, students must edit and “clean up” the two images that they will be using for the project. The two images can either be the two opposite subjects or two different viewpoints of the same subject.
· At the end of the computer lab editing period, the students must upload their two images into their folder in Dropbox, labeling them “Viewpoint”. Print images on photo paper in color.
Day 7 – 11:
· Take the students to the open art studio or a space where they can freely spread out their work.
· Demonstrate how the students will create a fan like paper by making three rows of marks at every inch and drawing with a sharp pointed pencil lines connecting the dots. This will score the paper allowing for it to fold on the drawn line creating an even fan or accordion.
· After the students have seen their printed photos, have them cut images into one-inch strips to match the size of their paper (or pre-cut photos or them on the cutting board).
· Demonstrate how to properly use rubber cement glue to glue their photos.
· Glue photo strips onto the fan-like paper, alternating between photos to finish.
Closure:
Display each student’s completed Flip Image, allow students to walk on either side of the images and then critique them. Questions to focus on:
1. What do you think of the outcome?
2. Is there anything you would change about your project now that you have seen the outcome?
3. How would you compare the outcome of doing the viewpoint project this way as opposed to just having printed the opposite photos taken and mounting that?
Extended Practice:
Photo Journal Homework Assignments: to be handed in every Monday by 4pm.
Continue to keep “viewpoint,” along with the rule of thirds in the student’s minds when they are taking their photos by continuing to build on these lessons.
Wall Text:
Now you see it, now you see something else! The digital photography students discovered the benefits of searching beyond the easy snapshot to find new perspective and more intriguing points of view. They were challenged to photograph two opposites from many different viewpoints, which they then sliced up to create this unique double flip image, showing you two images for the price of one.
Resources:
· http://digital-photography-school.com/10-ways-to-take-stunning-portraits